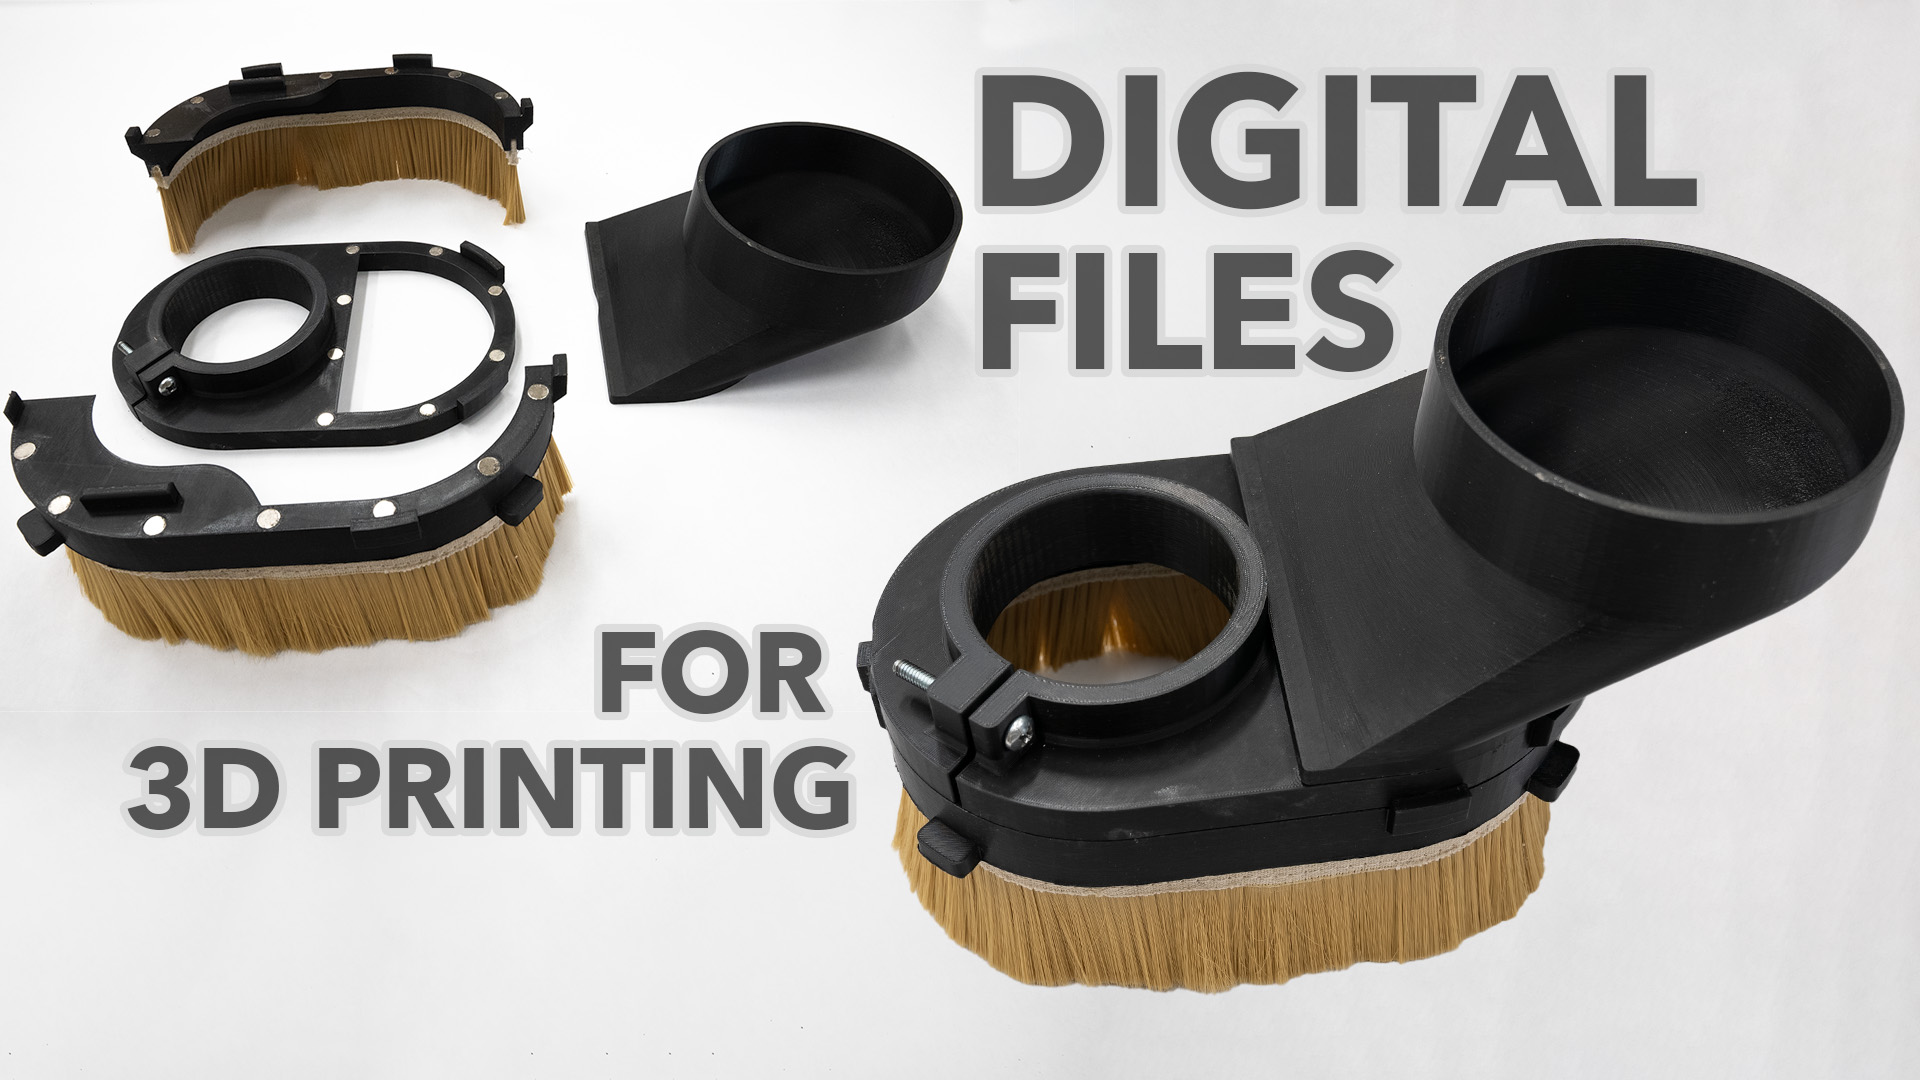
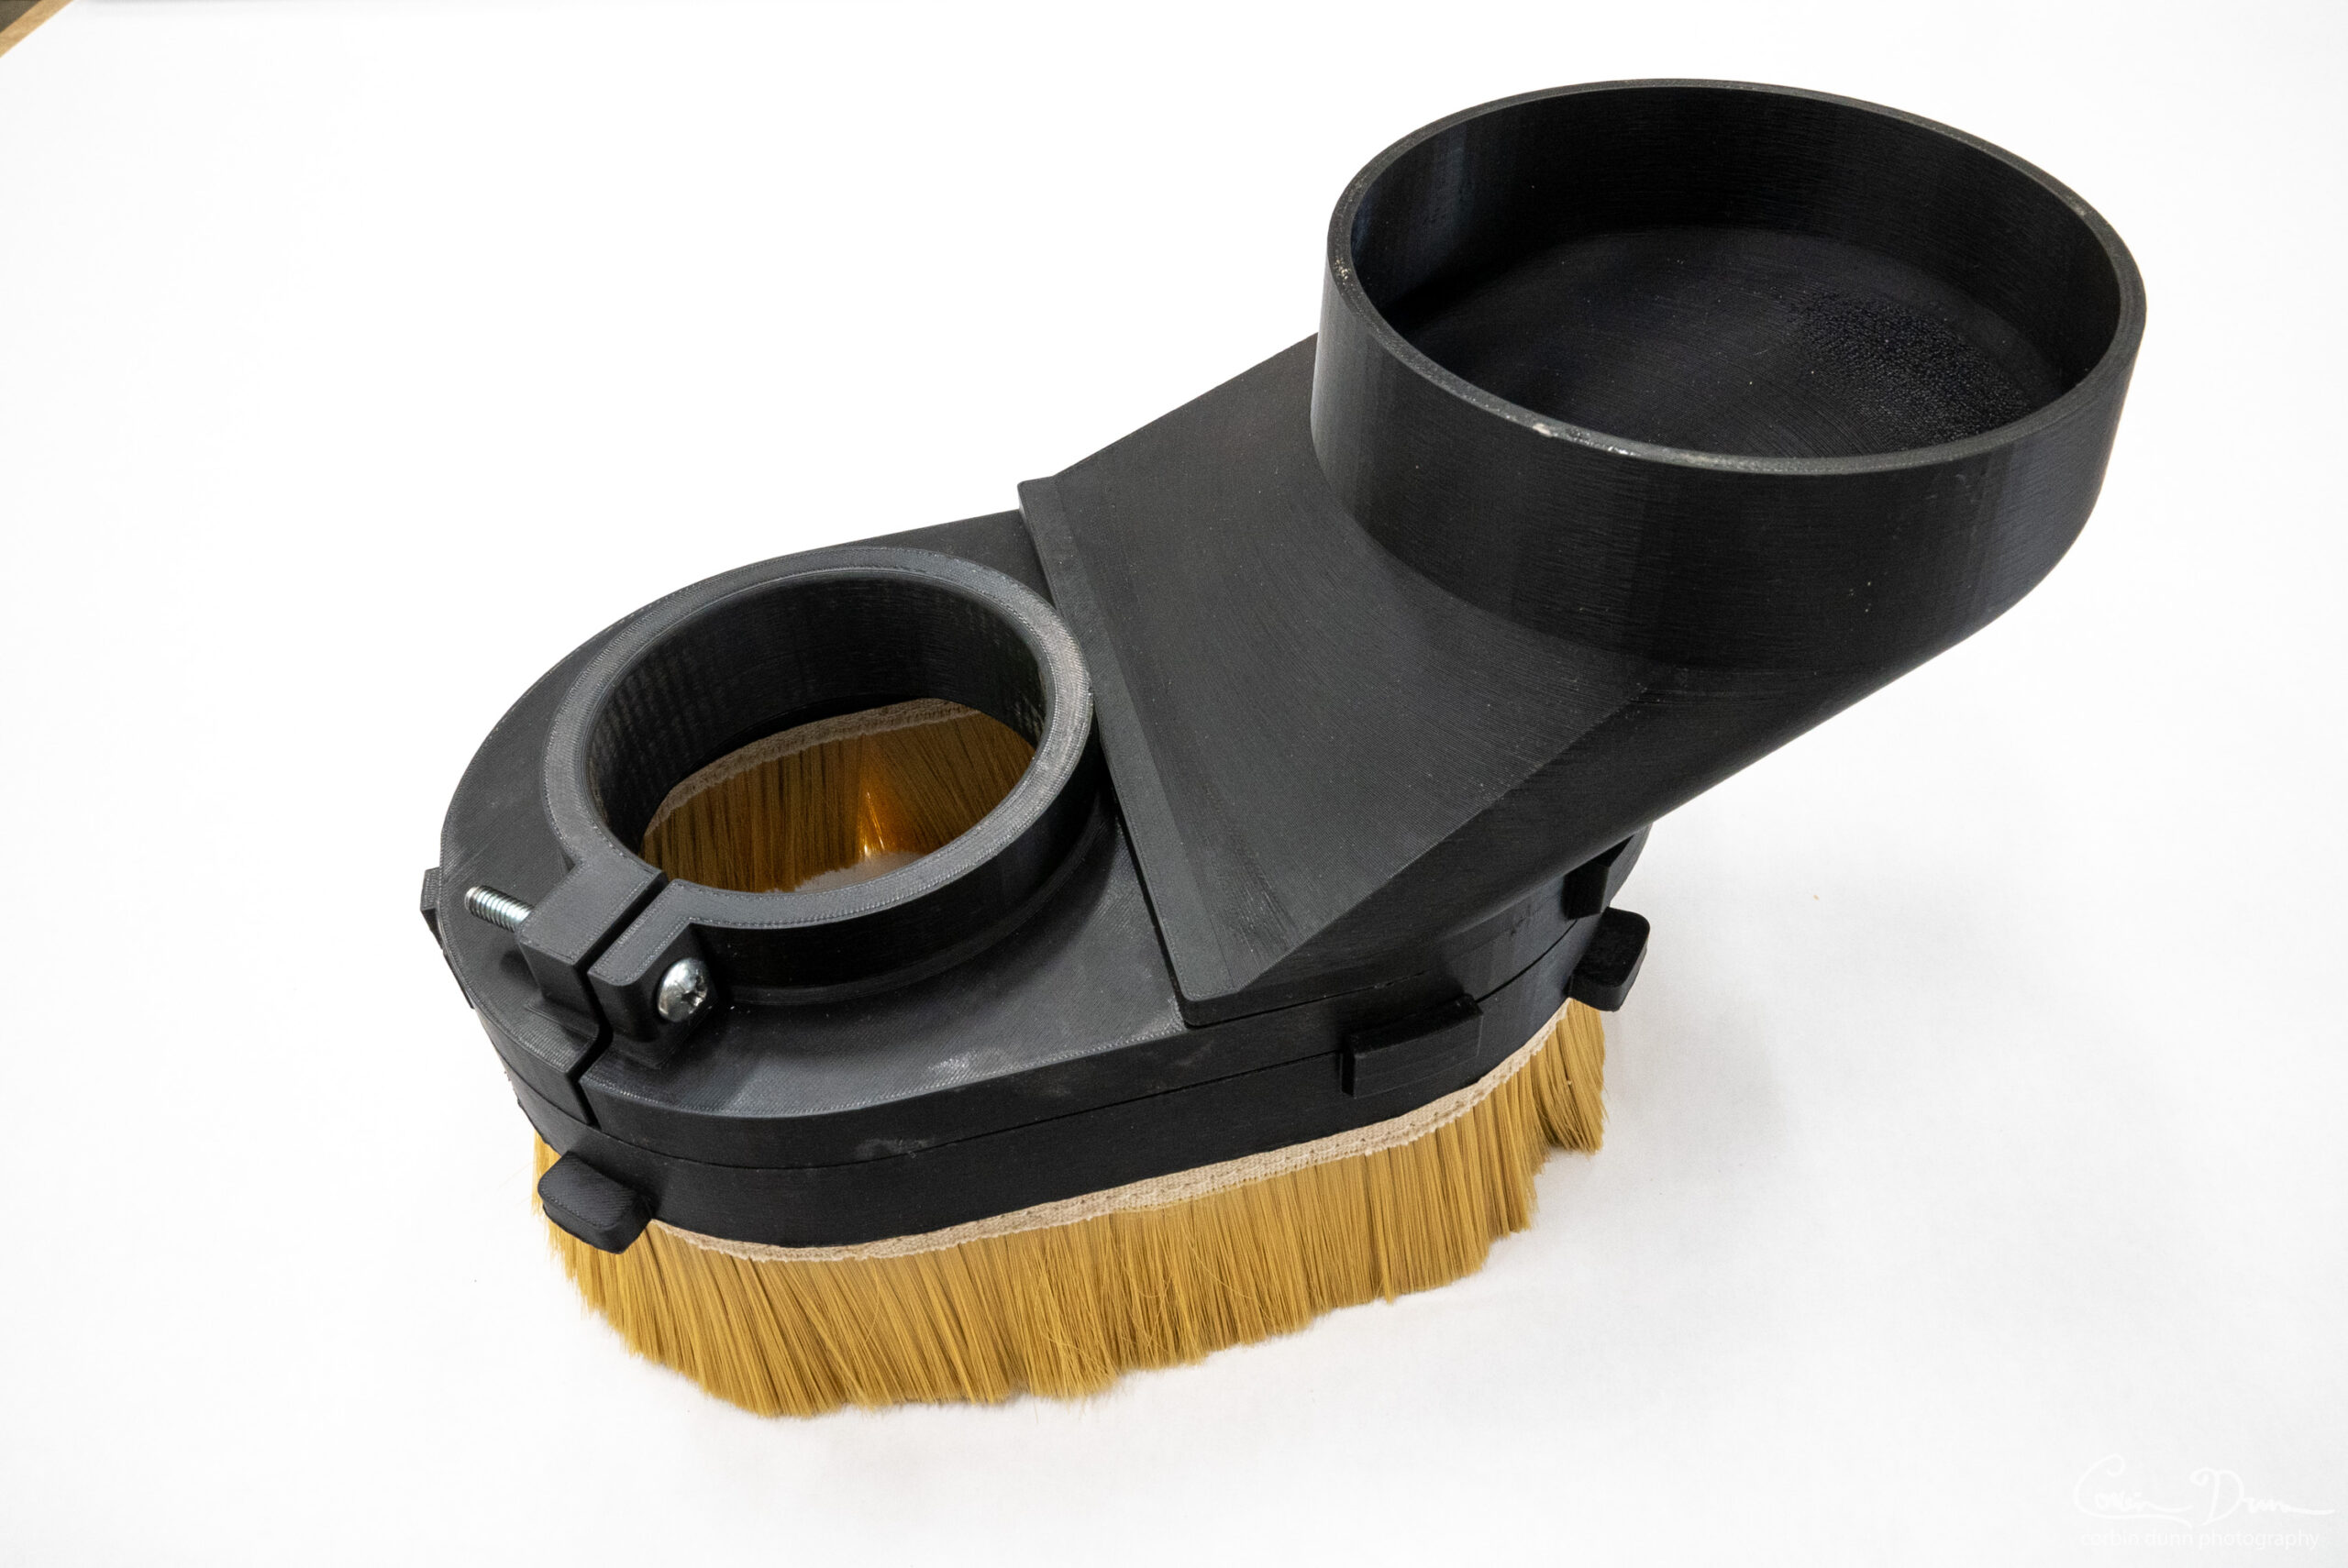
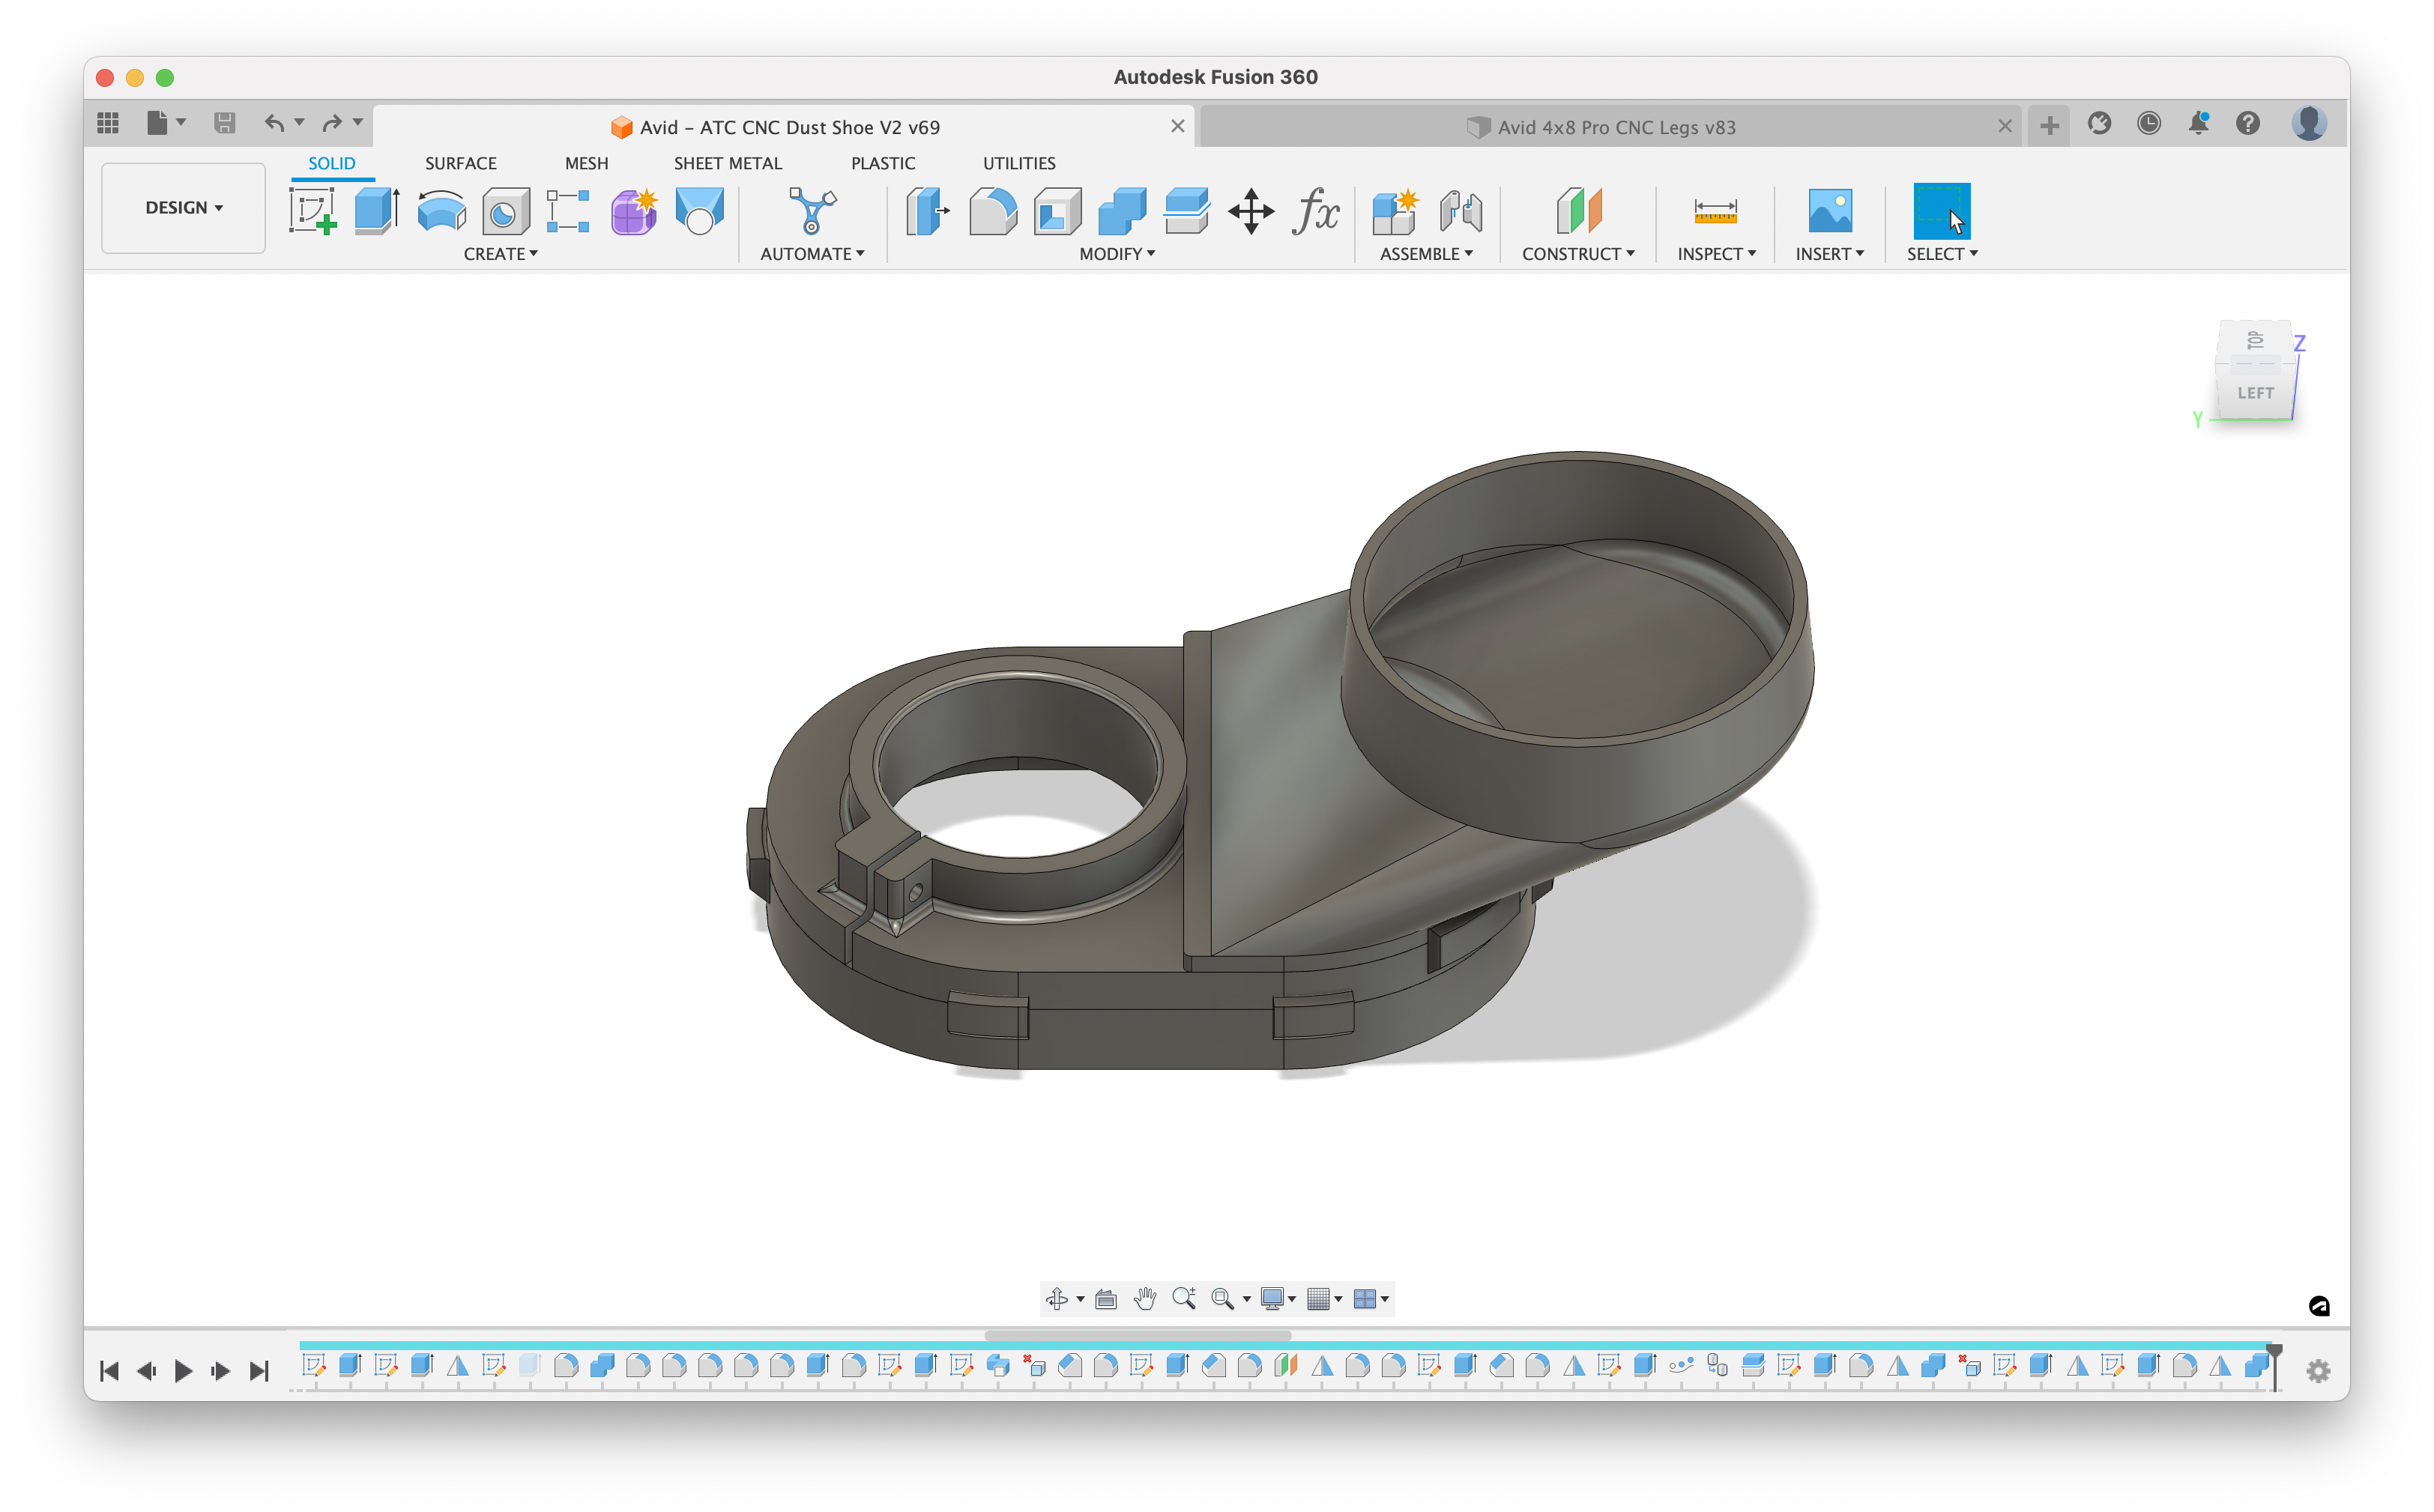
Version 3 of my CNC Dust Shoe design.
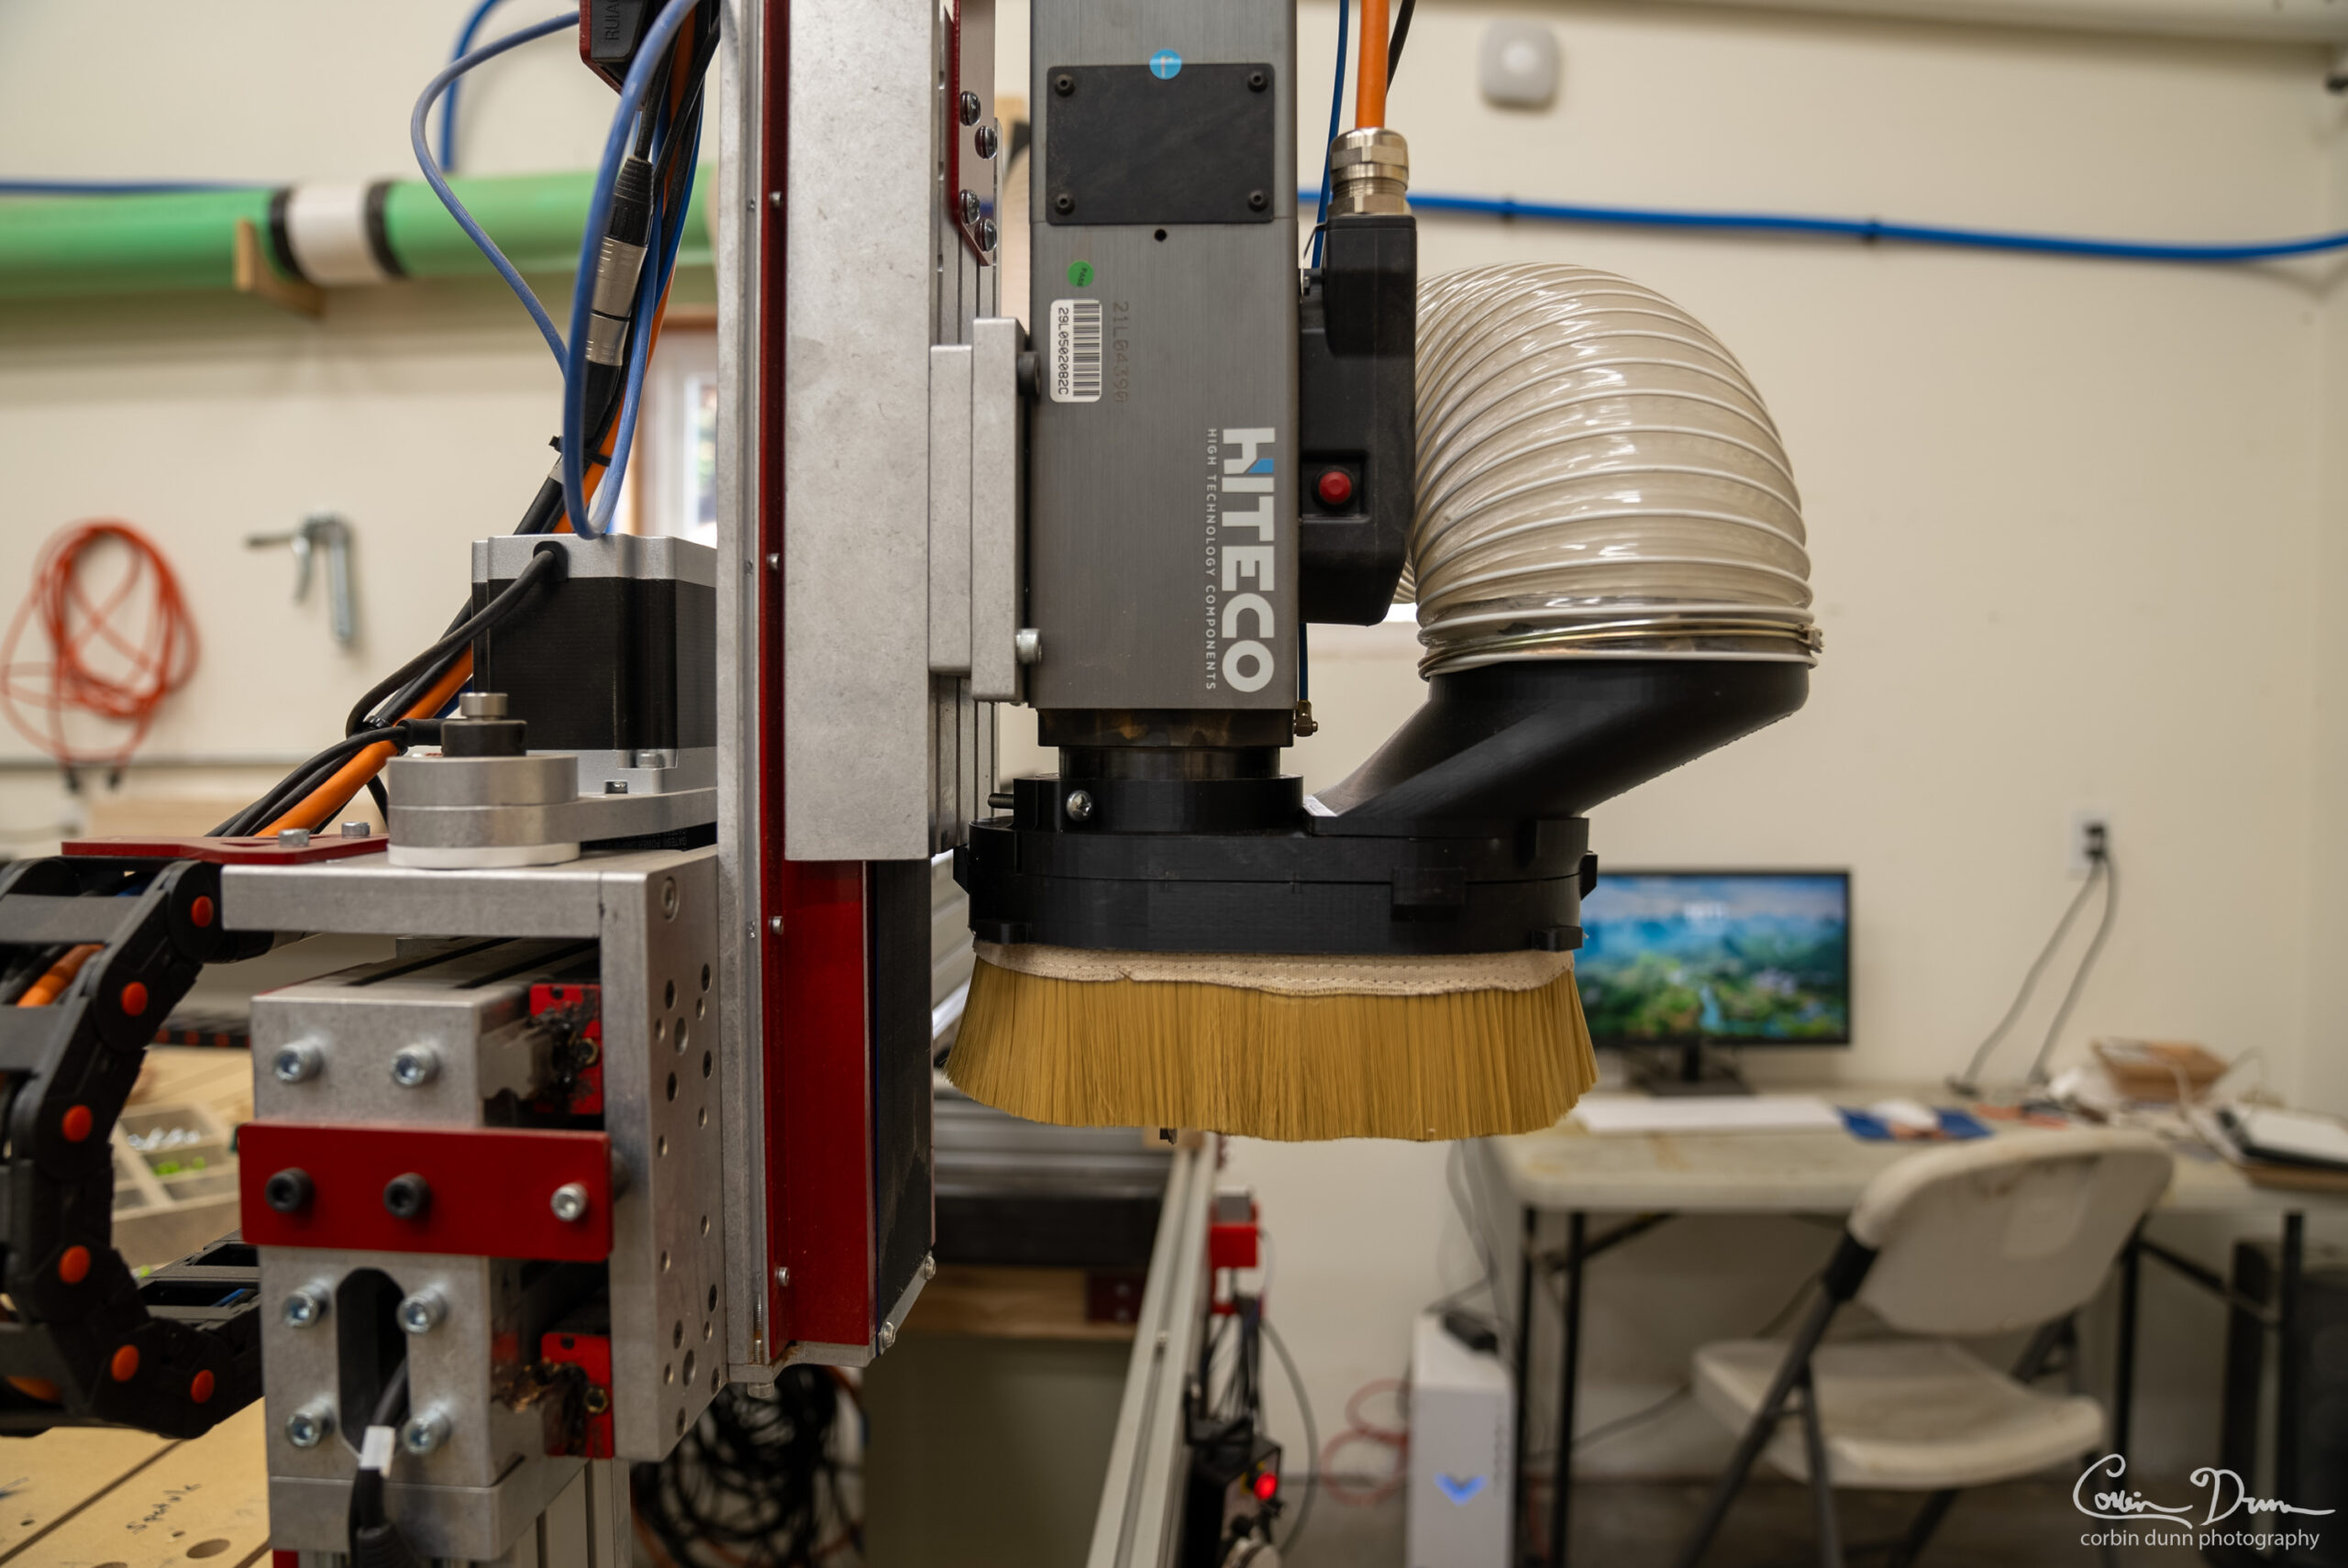
This is a free digital download for a CNC Dust Shoe design that fits various typical spindle sizes. It is designed in Fusion 360 using parameters that can easily be customized. I also included STL files for various sizes. You can print it on your typical home 3d printer, such as the Prusa i3 MK3s (etc). My design goals: thin and skinny to fit between an Automatic Tool Changer tool station without docking the boot, long enough to perform an ATC tool change, removable dust port to use it as a vacuum, and a removable brush hood, with an optional split design. I use it on a HITECO QD-1F spindle, but I know some people have had good success using my v1 and v2 designs on other spindle sizes.
Fusion 360 notes: I used Configurations in the latest version (f3z file). Unfortunately this requires the paid version of Fusion. I’m also including the older version for people with the free version. Configurations require you to migrate to “Teams”. Single users can still use “Teams” instead of “Single User Storage”. How to Migrate to Teams. If you can’t open the file, then you have to migrate to teams or use the older version.
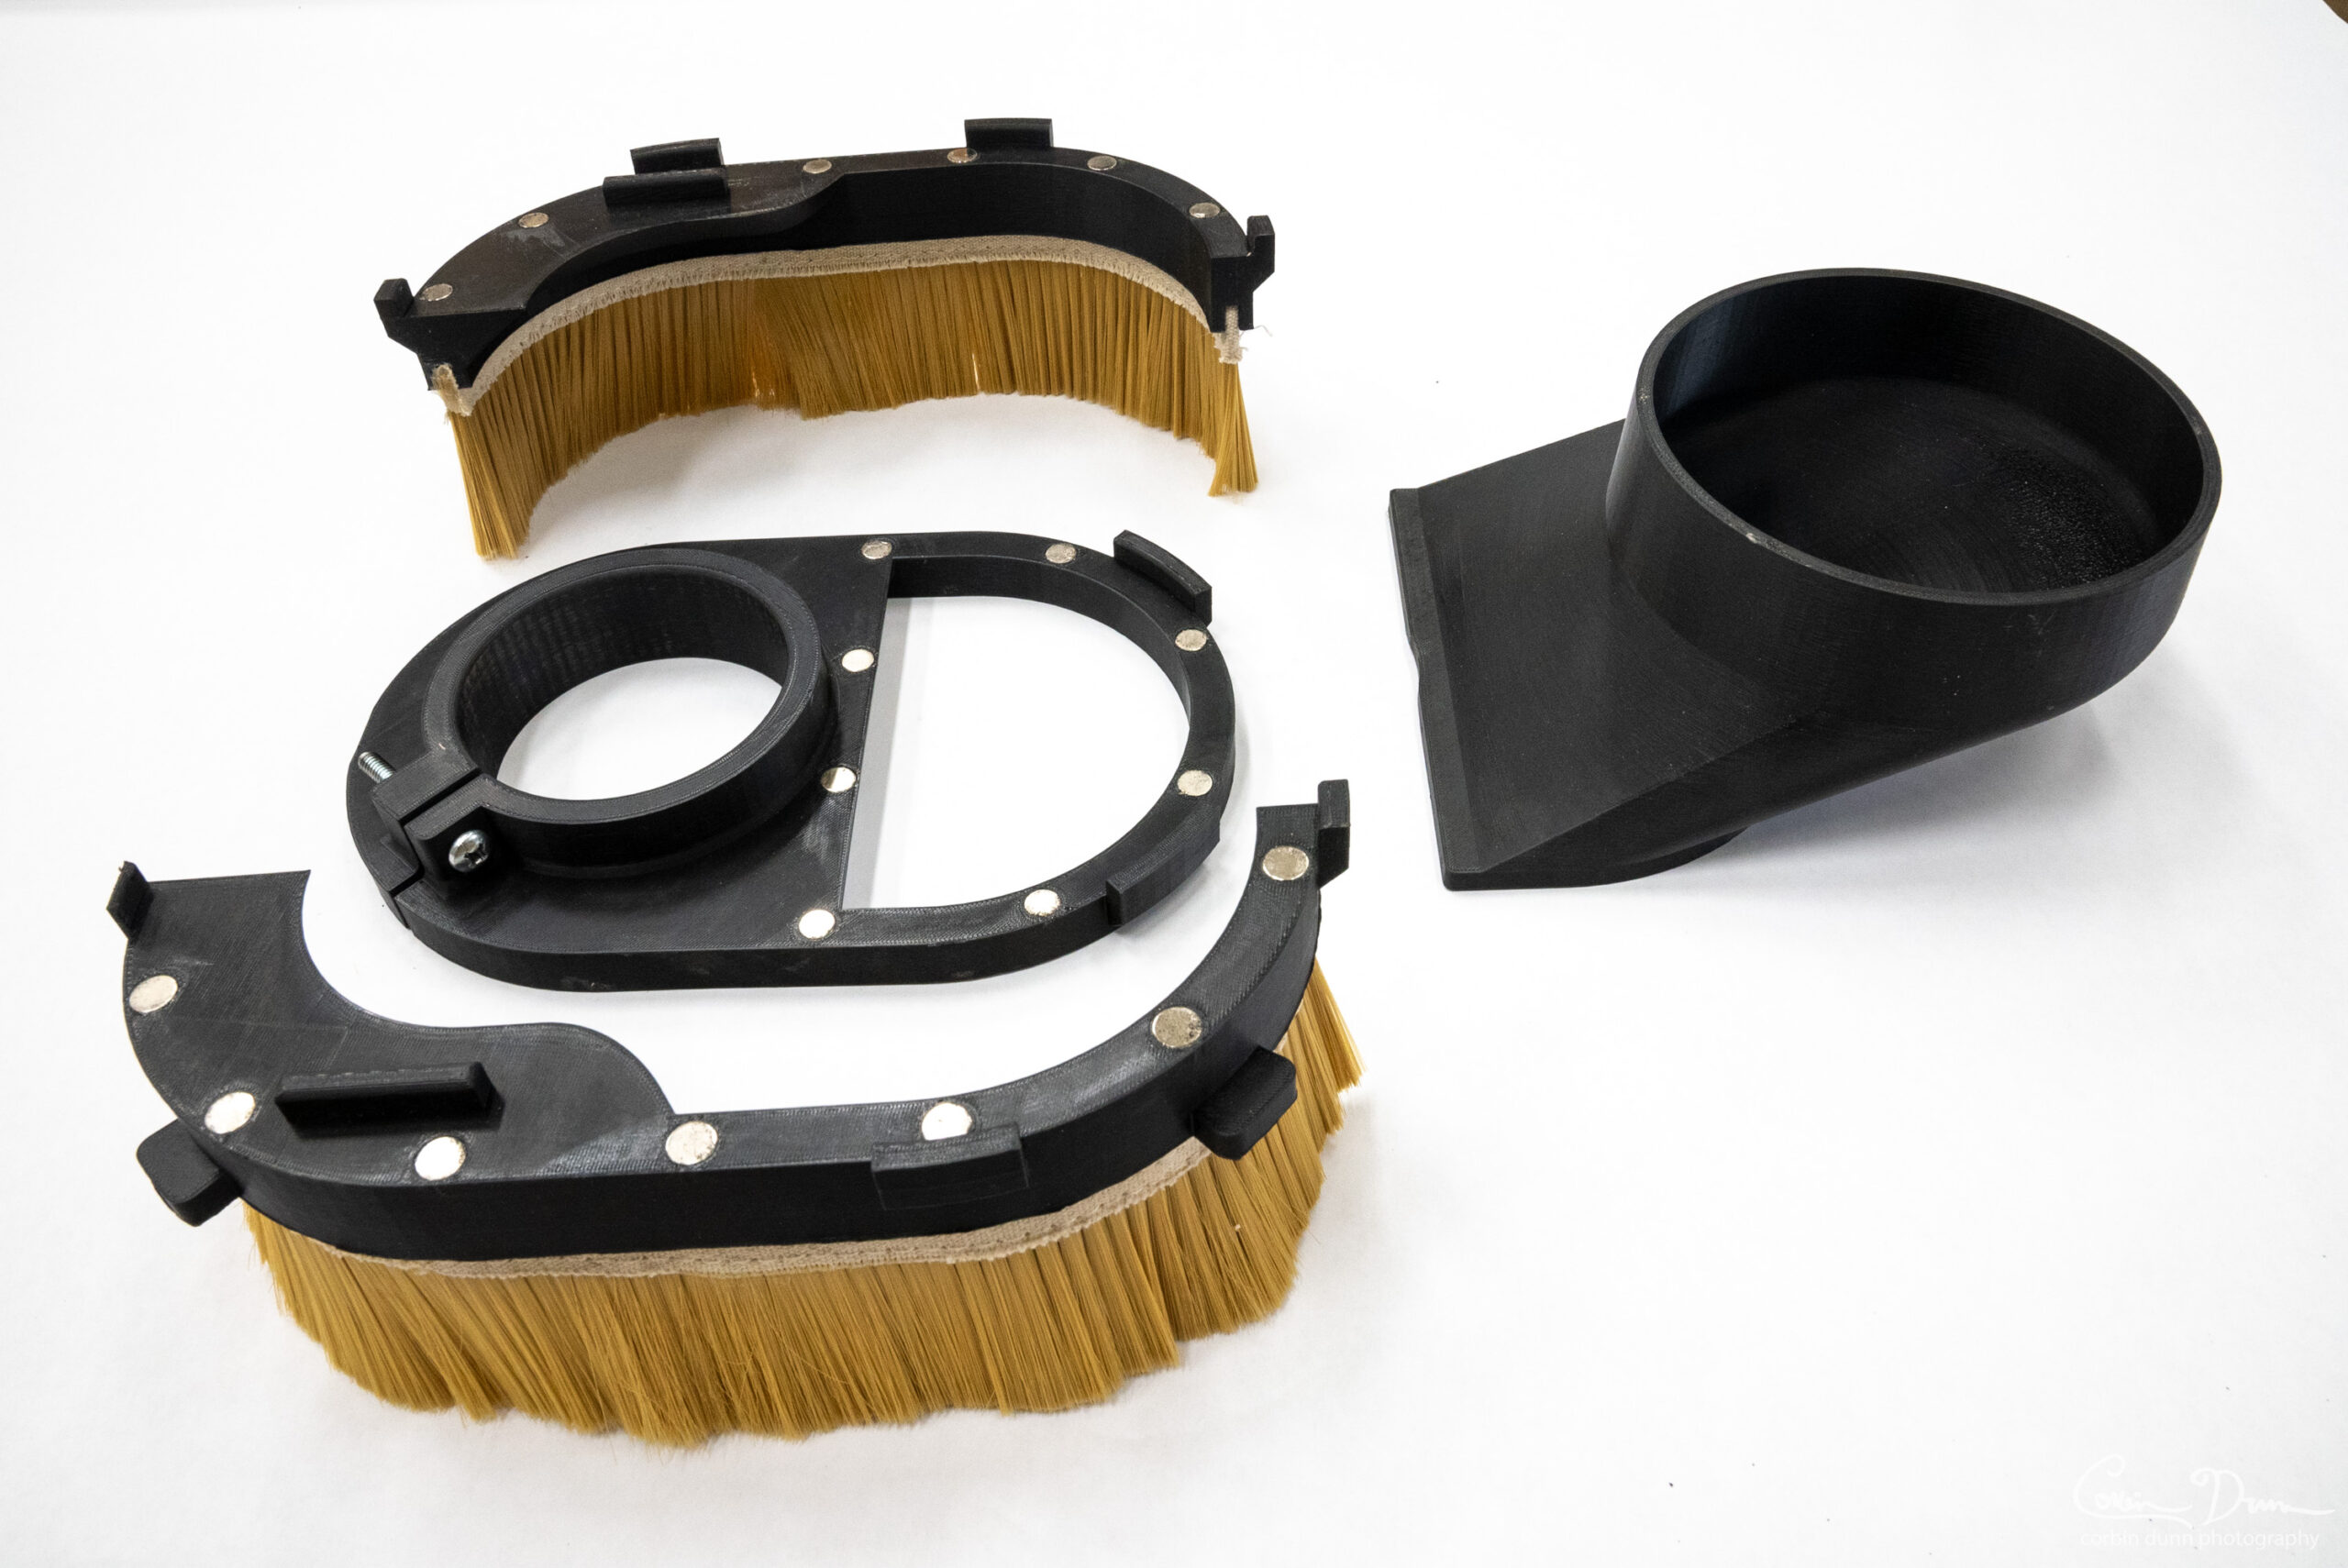
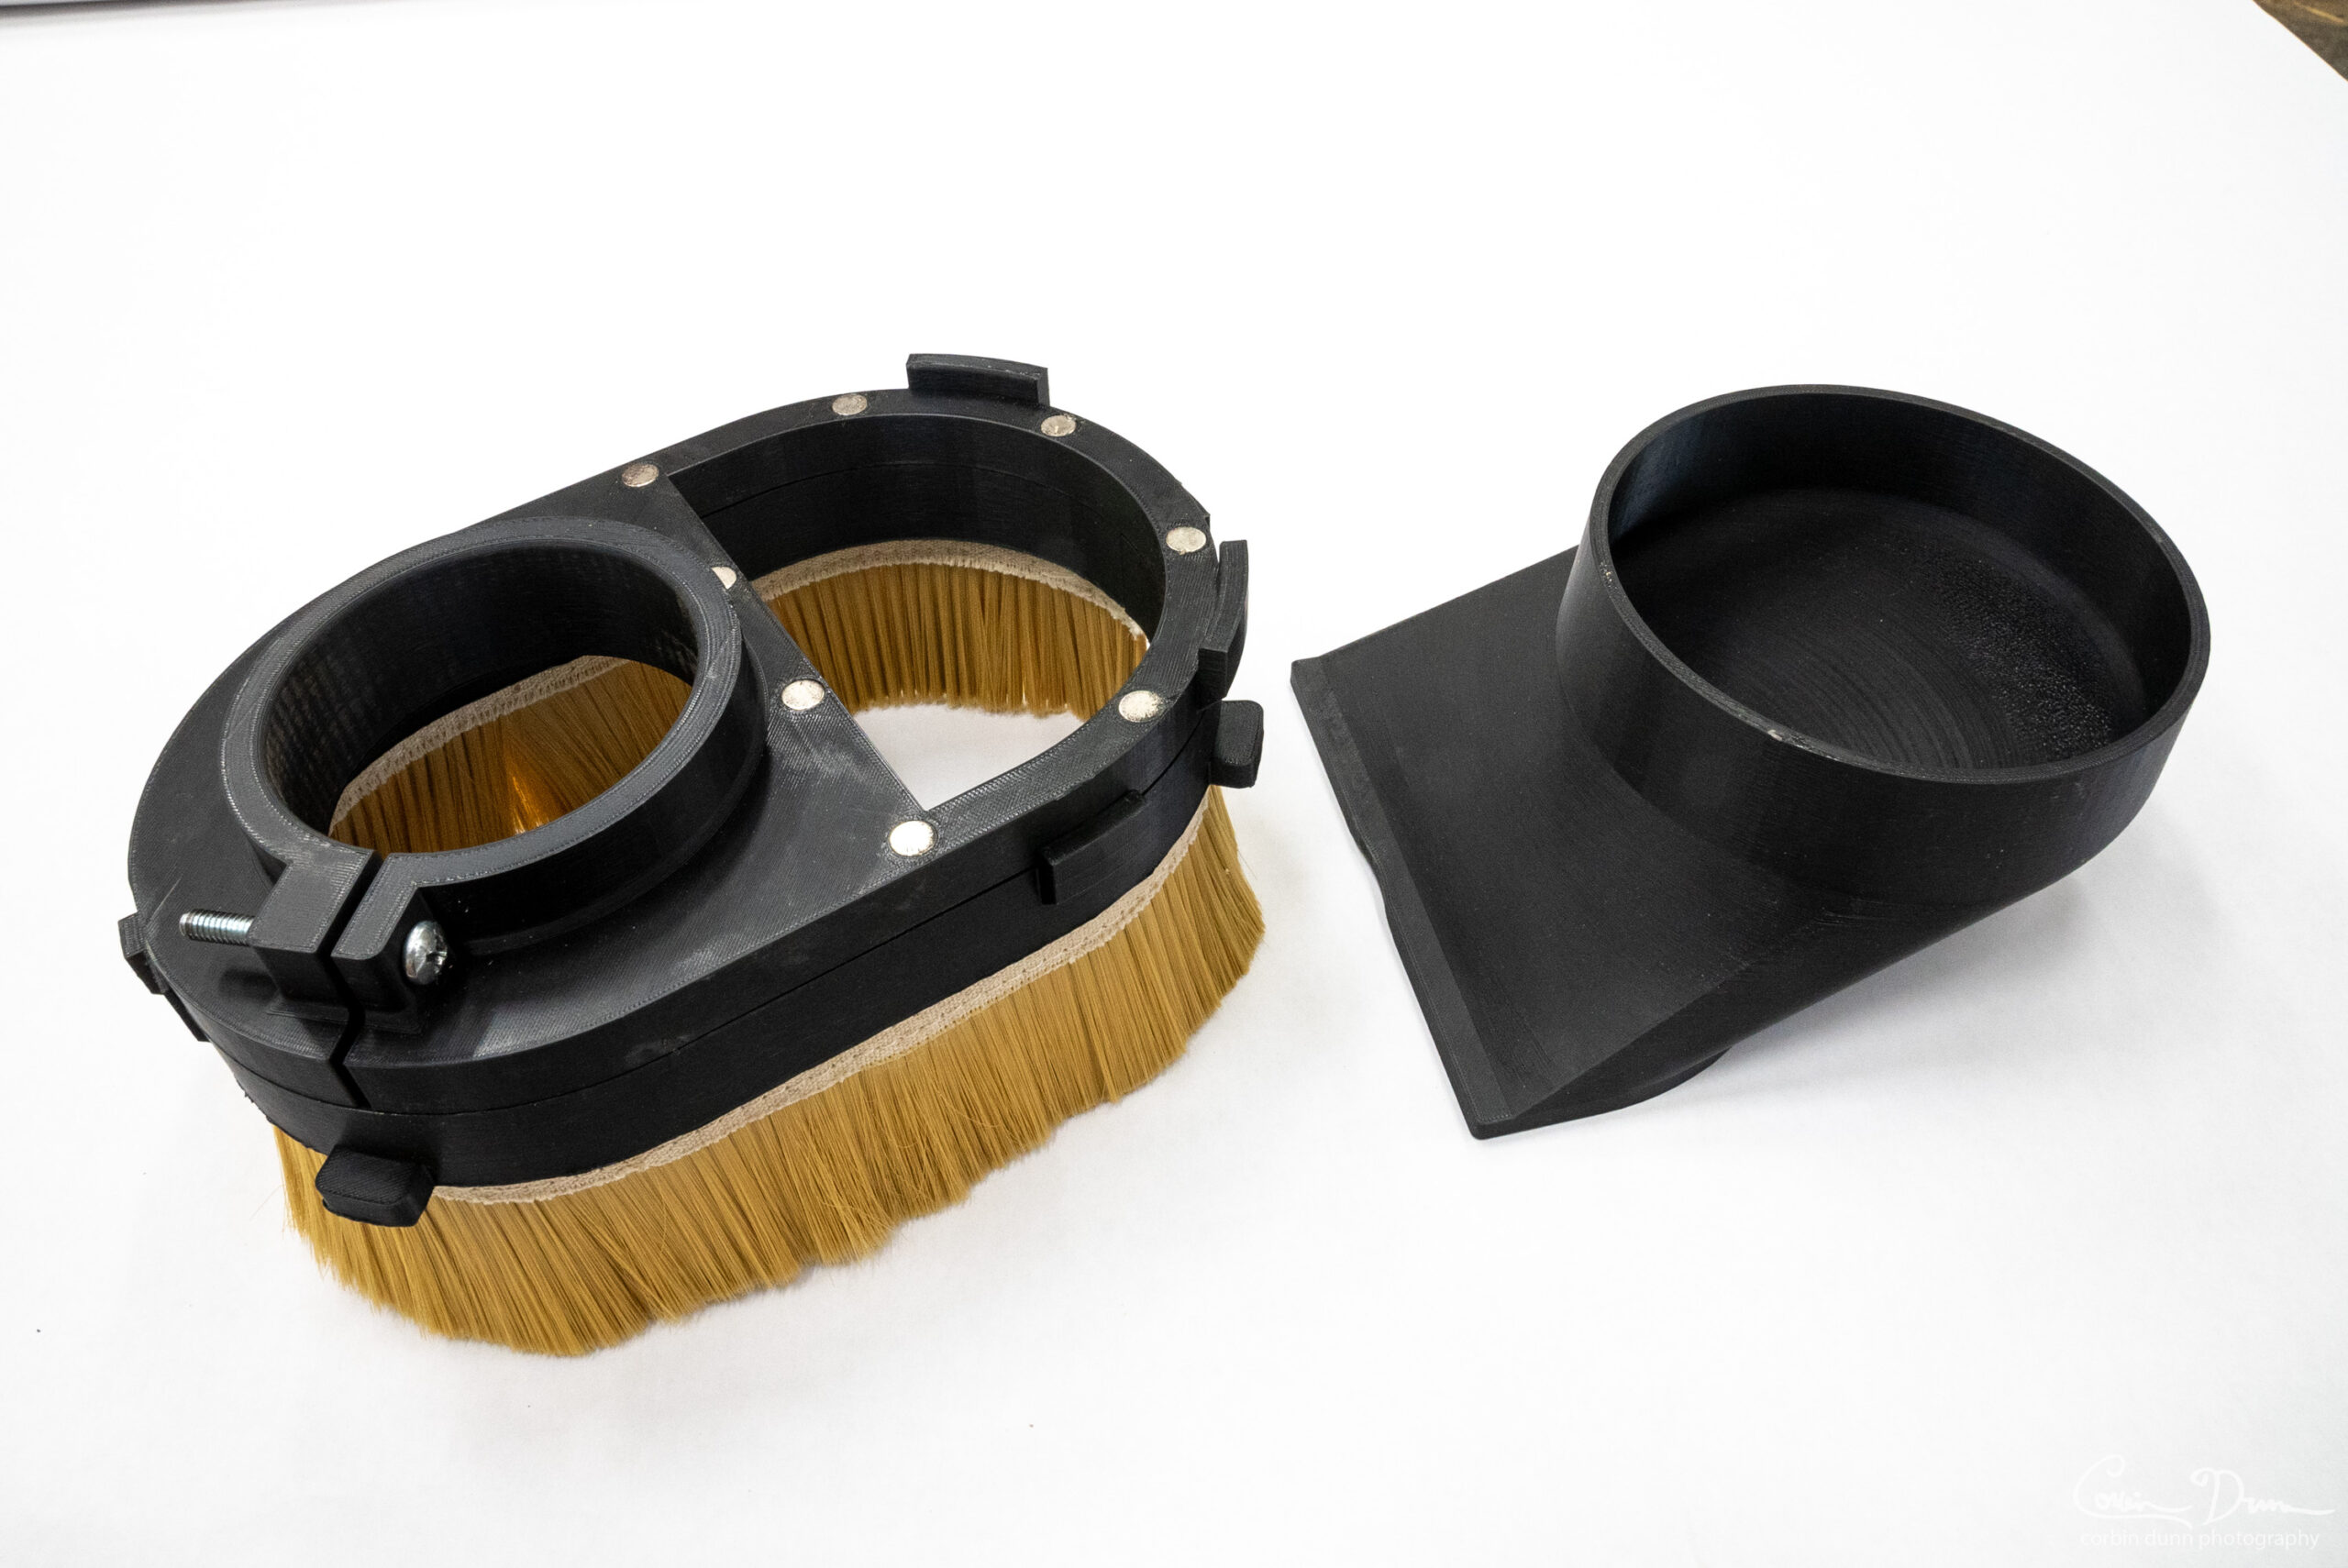
Versi0n 3 Updates: July 2024 – There are now two options for “brush hoods”, the bottom part that attaches to the base with magnets. The new option is designed for a specific McMaster-Carr brush, and simply slides into a slot on the brush hood instead of using glue. This works much better, and the quality of the brush seems a lot better than the cheaper options I was previously using on Amazon. This only works for the split dust hood, but it is also easy to replace when it wears old. The old option is a straight slot, where you can push in a brush hood and glue it in place; it can be a split hood, or a solid hood (I still prefer the split version). The new brush hood is fully compatible with the v2 base.
v4: Removed quotes from the filenames, which caused trouble on windows.
v5: Included a copy of the older file for the free fusion.
Version 2.0 Design & Build Video: https://youtu.be/lf1BBPod6NY
Version 3.0 Update Video: https://youtu.be/MThMYhxmHV8
Included in the download:
- The Fusion 360 CAD Model (.f3d / .f3z file formats)
- PrusaSlicer files pre-setup for the 6″ dust port and 90mm spindle clamp, and the split brush hood (.3mf files)
- STL files for a 4″ and 6″ dust port, 75/80/85/90mm spindle clamps, one-piece brush hood, split brush hood (.stl files)
Resources:
- Autodesk Fusion 360 (request a free hobby license)
- PrusaSlicer – Free software for slicing STL files and generating 3D printer GCode
- 3D Printer: Prusa MK3S or MK4 – https://www.prusa3d.com
- PrusaSlicer Modifiers – Read this to learn how to make the clamp area with a more dense infill
Materials Needed:
- PLA, or PLA+ or ABS/ASA: 3D Fuel Pro PLA+
- 44 – 3/8″ by 1/8″ N52 neodymium disc magnets: CMS Magnets
- 1/4-20 nut and bolt long enough for the clamp
Brush Hood Options:
- McMaster-Carr Easy-Cut Strip Brushes – 7/32″ Wd. × 3/16″ Ht. Nylon Plastic Backing, 3″ length recommended
- OR the older straight version: 2.7″ Dust Shoe Brush etc…on Amazon
Materials cost around $47; it could be even less if you use a cheaper PLA and cheaper magnets.
Magnets: N52 are the strongest, and I feel like I used too many, making the brush difficult to remove. You can always try using every other magnet hole, and seeing if it feels strong enough for you before adding in more magnets.
Fusion 360 Notes: The file is parametric, and includes some test components for getting a good fit. Most things are customizable in the parametric design. Once you open the file, click “Modify” in the tool bar (aka: ribbon) and select “Change Parameters”. Set the spindle_diameter to your spindle’s size, and the hose_diameter to your dust collector hose size (rated size). Watch it update in real time. Feel free to change any of the other parameters to customize various aspects of the dust shoe, such as how far it extends from the spindle to clear things. Most options have a good comment for how they are used.
V3 Updates: The Fusion file now has two “Configurations”. One for the new McMaster-Carr T-slot brush hood (split only), and one for the older straight slot brush style. Switch between them with the drop down underneath “Document Settings”.
To export each model as an STL for 3D printing: expand the Dust Manifold component (in the tree on the left), expend the Bodies. Right click on each part and select “Export Mesh” and save it somewhere.
Printing: Open the PrusaSlicer files — download the free app — and see the print orientation and settings I use. In general: all pieces are upright, 15% gyroid infill, and a 60C bed temp seemed necessary for PLA+ to not curl. I used a glue stick on my print bed to also help avoid curling. I used 3D Fuel Pro PLA+, which seems to work well for my spindle. If your spindle gets really hot you may want to consider using another material, like ABS or ASA.
- Note: Some links are affiliate links for Amazon, but these are the things I bought myself and use.
Licensing: I’m freely sharing this file for the CNC community. It is okay to print and sell products from the design, but I would appreciate some sort of attribution and a link to my website, such as “Design by Corbin Dunn at https://www.corbinsworkshop.com”.
Officially, the license is CC By Attribution – https://creativecommons.org/licenses/by/4.0/
Please do not resell the digital files or re-post them anywhere else. They are meant to be free!
The design, and digital files are © 2023-2024 Corbin Dunn.